Your First Document
This brief introduction will show how to create a new PCTeX document file, and how to edit, typeset and view it.
Creating a new file
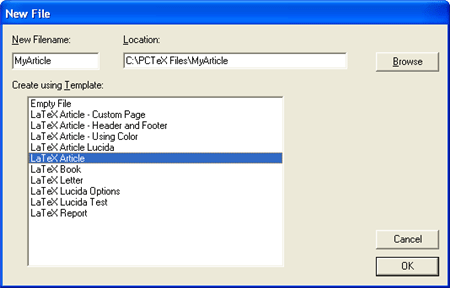
Choose File..New. For "New Filename" enter MyArticle, and for "Create using Template" click on LaTeX Article. Your screen should look something like this:

Click OK, and the file will be created.
Editing the document
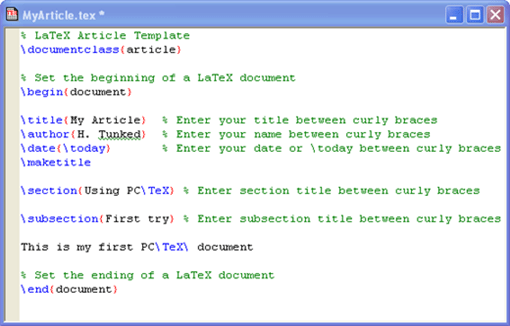
PCTeX has created a new source file called MyArticle.tex, and it contains a blank LaTeX article. Where it shows \title{} enter "My Article" between the braces. Under \author{} enter "H. Tunked" (or your name) between the braces. Fill in the items \date{}, \section{}, and \subsection in a similar fashion. Now the screen should look something like this:

Typesetting the document
At the top of the screen to the left of the PDF/DVI combo box, be sure the window contains "LaTeX". If it does not, click on the combo box and select it. Now click on the Typeset button.
Viewing the document
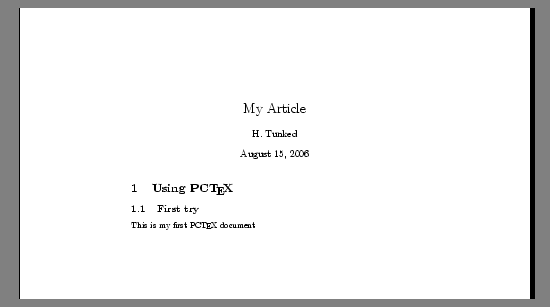
After typesetting, the screen should look something like this:

At this point the document is in typeset form. It may be printed using File..Print. To return to the source file, place the cursor in the text "This is my first …" and then press the F8 key. This will return to the source document at the line containing the text. Use this technique to speed editing your documents. You can also use the icons on the toolbar to return to the source document.
